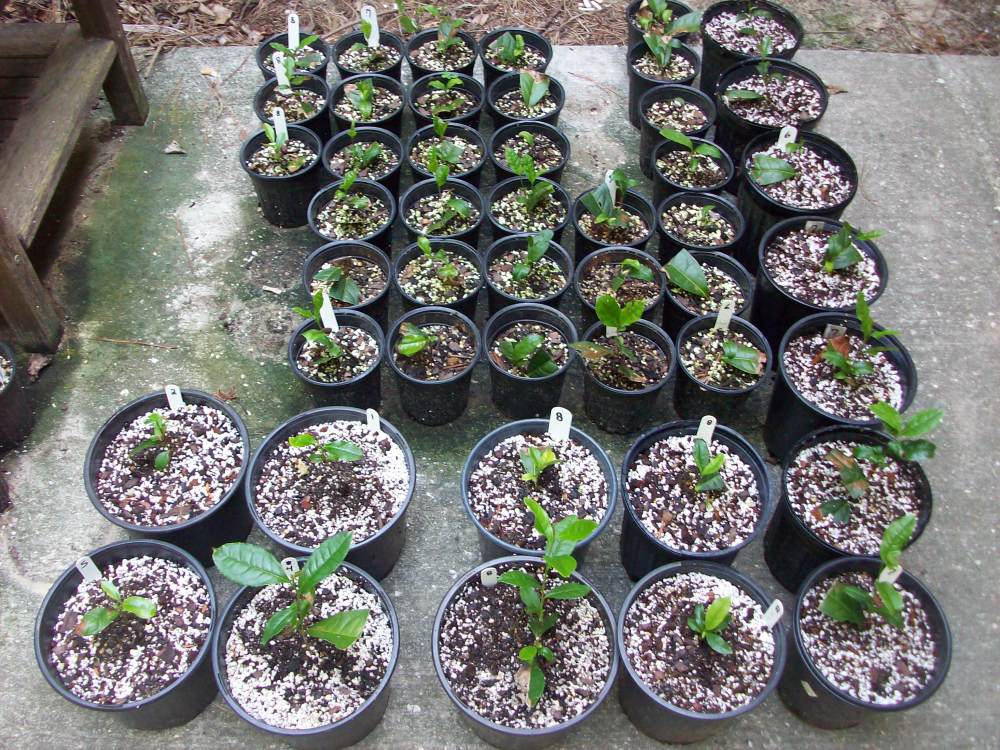
Hey everyone, since we broke away from the regularly schedule format in our last post, we figure it was time to give an update on a previous post. Last December, we talked about how to do camellia cuttings in the winter. Some time has past since then and to keep things growing and moving in a positive direction we are going to talk about potting up of finished cuttings. Finished cuttings ready to pot up into a larger container are called “liners” in the nursery trade. Now it is the time to do this step, if you have not already.
While we had some successes and failures this past Winter and early Spring, we never got discouraged and knew that there is always next year. We think most of failures this year was due to bad rooting hormone and maybe too much usage of greensand in our propagation media.
While we know some excellent benefits of greensand being incorporated into soil or media, we made a judgement call and discontinued using it in our propagation mixes. If we had a typical greenhouse with heating and other climate controls, we believe this would of been a little to no factor.
As far as the bad hormone, we went out and got new hormone to use. We diluted the old stuff down pretty weak and added it to our water soluble fertilizer applications.
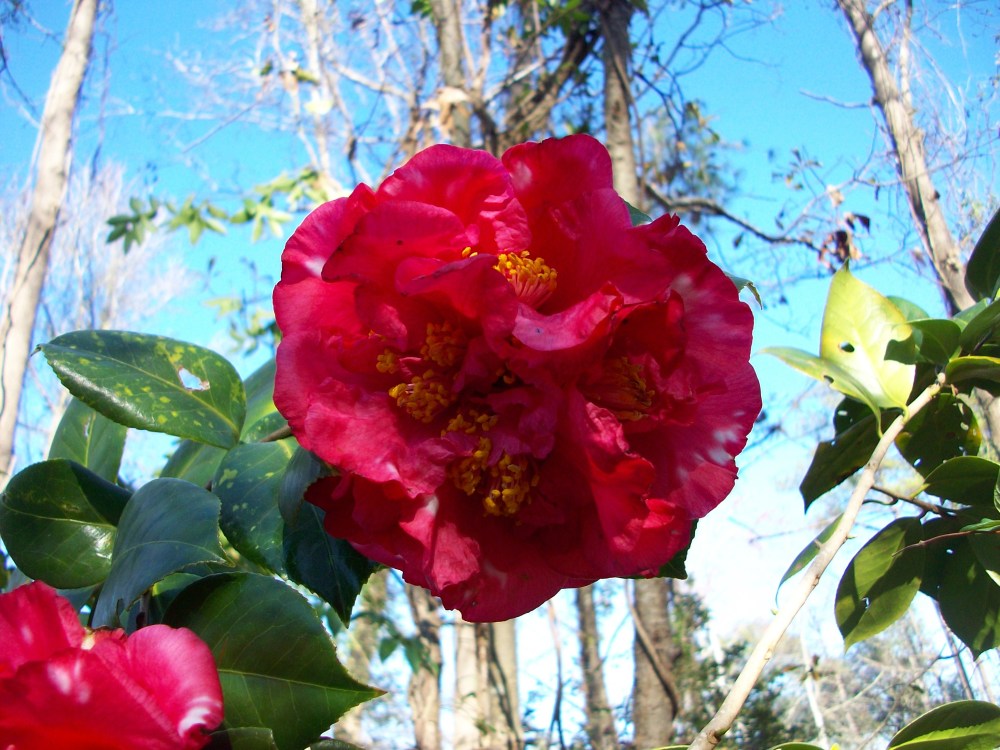
So what was our successes you might be wondering. We had a fairly good crop of Camellia sinensis (Tea) of 8 different cultivars we selected that are American Heirloom. We had two crops of Camellia sasanqua that rooted around 90%, both were for a client, who we cannot easily find the cultivars in the trade any more. Then we had two other crops, one Camellia japonica and one Camellia reticulata, that we took late and some are still rooting for the most part. If we could go a few days without after drenching rains it would help a lot. The japonica and reticulata come from an old site, not too far from where I live. Below is a picture of both, the japonica being white and the reticulata being magenta-pinkish-red multi colored. If you have a guess as to their names, please drop us a line.

After the miserable disaster from earlier attempts (the above mention), I went back and took some wood to root. I potted a few of both today and will wait a little bit longer to see if I can get some more rooted from cuttings I already took. (They were single node and the majority formed a heavy callus).
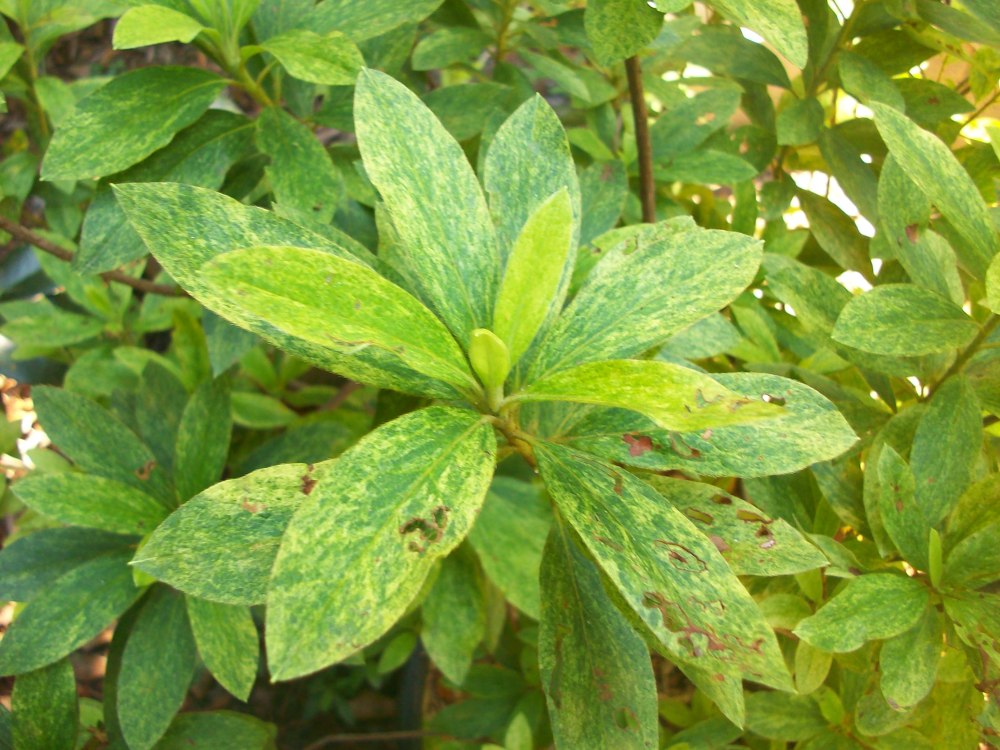
I also did some azaleas. Never done it before utilizing the natural climate and humidity domes. I got a hand full of several varieties to root. It wasn’t a banner success, but below is one I am trying to build numbers up for breeding purposes. It is Azalea indica “Todd Lasaine variegated Formosa.”
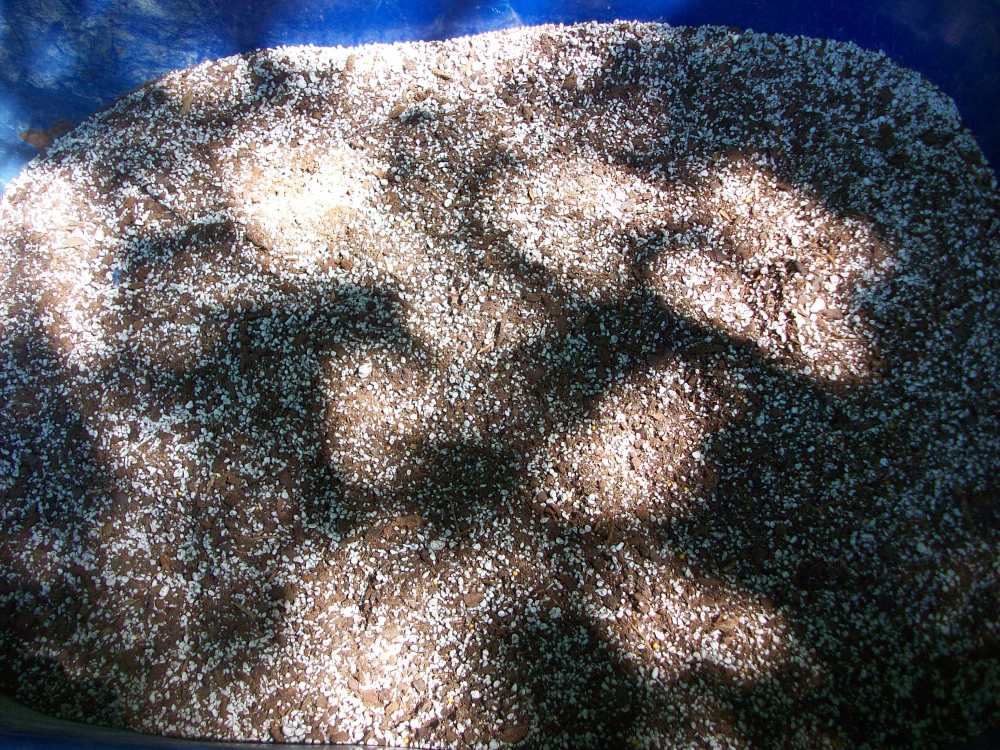
Before I started gently removing finished cuttings from propagation media or potting up liners for bigger containers, I had to mix some media. Below is media recipe I like to use. I find this recipe is very versatile and I have had good success with it.
5 parts fine milled pine bark, 5 parts peat moss (loose-fluffed), 2 part fine grade vermiculite, 12 parts perlite.
There are many formulations and pre-mixed options are out there to use, this formulation is great because it is a 50/50 air to water holding capacity ratio. Using pine bark, peat moss, and vermiculite in combination gives you a media that is easy to get saturated again after it drys out and has a good Cation Exchange Capacity. Vermiculite is also a good source of potassium and magnesium as well when it breaks down.
When I am potting up material 3 gallon or higher, I tend to replace 1 part perlite with 1 part sand and 1 part vermiculite with 1 part greensand.
As far as incorporating nutrients into the soil mixture, we like to do it for several reasons, #1 nutrients are available deep within the root zone, #2 if the plant falls over, less environmental impact and waste of fertilizer, and #3 allows us to supplement with smaller quantities of granular and water soluble fertilizer.
For 1 cubic yard of media, we add 1.3 lbs of powdered Dolomitic Lime and 1.3 lbs of granular Dolomitic Lime, 10 lbs. of 18-6-12 fertilizer with minor elements 8-9 month slow release Osmocote, 5 lbs of Holly-Tone, 1 lb of potassium nitrate, and 1 lb of sulfate of magnesium of potash.
The lime is added to adjust the p.h. from around 5 to 6.3., and using dolomitic form also provides a good source of calcium and magnesium. The Osmocote and Holly Tone, provide a intermediate to long term source of all the major nutrients. The potassium nitrate and sulfate of magnesium of potash, provides readily available sources of Nitrate-nitrogen, potassium, and magnesium.
The old rule of thumb of was never apply lime and manure at the same time as ammonia gas will be released. While these are wise words to follow, we typically try to use fertilizers very low in urea form. Urea has to be inter-converted two times before it is readily available to plants to use. It may be cheap but it has its’ drawback because of the inter converging process, you can lose a lot of nitrogen in a gas form from urea. The other consideration is that part of incorporated fertilizer package contains active biological cultures which may mitigate some of that effect and poly coated fertilizers typically slowly release nitrogen. We have yet to see a situation where an over accumulation of ammonia gas has injured a crop. I believe this is more of an issue in wet native mineral soils and we particular careful with our fertilizer usage due to cost and environmental degradation risk.
Now, once we have our media blended and our liners already hardened off , it is time to plant. Make sure you water the liners so they are not stressed, it also helps when removing the liners from the pot as the soil tends to stay together.
While we are not going to get bogged down in the physics of soilless media and containers, we are going to cover a few “must know” points when potting up liners. The first point is the perched water table formed by the container. The lower half of a container tends to hold more water and has less macro pore space than the top half. Hence when sizing a container to pot up into the rule of thumb is roughly twice the height of the current container. The reason for this, is that the roots will make contact with the water rich part of the container while still having adequate gas exchange. The second point, do not plant the liner too deep, this will affect the gas exchange with the roots. When you are going to pot up your liner, approximately fill the container roughly half way with media, place the liner into the pot, but make sure you are leaving a 1/2 to 1 inch from the top of the new container to the top of the soil of the liner, this will give you room to fill the container with water later. The third point is to tap the container once you have filled it up. Tapping the container removes any major air pockets that might exist from filling media into the container. Gently bumping it on the bottom of the container or picking up the container and gently dropping it on a hard surface should work. Make sure that you add more media to the container after the media settles from tapping. The fourth point is to water immediately afterwords. There are two main reasons for doing such. The first reason is to settle the media even further, if the media sinks, add more and reapply water. The second reason is to get the container to field capacity/point of saturation so that the root tips are not damaged once they become in contact with dry media. A dry media can strip moisture away from the roots. Applying water initially is a slow process, you want to slowly apply the water with a hose with a pressure breaker nozzle or out of a water can with a breaker nozzle. You want to slowly fill the container with water, the water will quickly go through the container in the beginning. You don’t water to over fill it and have media float out over the sides. You might need to apply some water, allow it to drain and let it settle for a little bit, before making another application. You can use a wetting agent instead of make multiple applications.
Another way to water if you want to be conservative water runoff, is to place the potted up linear into another container or pan that can hold all the runoff. Water the linear, allow the water to collect in the container/pan. Keep repeating the watering and draining process until the container fills up with water to were at least half of the container is covered. You also want to do this slowly, as the liner may float initially. If it does float, do not add more water until the liner is sitting on the bottom. Doing it this way, you take advantage of capillary action and defies gravity. Water naturally want to move from high to low concentrations, it wants to adhere to organic (carbon) based materials (adhesion), and it adheres to other water molecules (cohesion). Dry peat moss has a very negative osmotic potential, hence the peat moss at the bottom becomes saturated and forms a positive potential while the peat moss above it still has a negative potential, hence capillary action of defying gravity and moving upward. As you add water to the liner, the reservoir of water within the container/pan builds up, it makes it easier for water to move up the liner container. If the container holding water is filled to half way of the liner container and you let it sit for 10 to 15 minutes, water will fill very close to the surface of the liner. One application of water to the liner after 15 minutes should be enough to fulfill saturation point. Remove the liner from the container holding water and recycle that water for the next batch of liners. If all of this sounds confusing, here is a short video showing the concept. This type of irrigation is also used in horticultural production as well, here is a short video on it.
Now that we have potted up our liners and watered them, it is time to organize them where you want to them to grow. Typically, we lay out the containers in a square grid pattern, placing each container close to one another touching. This is typically referred to as a “can tight,” layout. Most commercial plant nurseries will lay out can tight, yet they will give adequate space in between the blocks of liner for re-positioning later. There are several advantages for this method, that containers are less likely to fall (reducing labor inputs of picking them up and fertilizer loss), containers within the block typically have more uniform soil temperature, and it simplifies tasks like pulling weeds and fertilizing before re-positioning.
Two weeks after planting, I will fertigate with a beneficial biological package that has mycorrhizae. The holly tone also has some beneficial biological in it as well, but the package I used also has a few other active cultures.
Three weeks after potting up the cuttings, I will give the plants a topdressing of holly tone and a 16-4-8 fertilizer with minors, typically a 50/50 blend at a rate of 1 tablespoon per 1-gal. Then twice a month, depending on rainfall and weather conditions, I will fertigate with a 16-5-25 Jack’s Classic Palm Food at a rate of 150 ppm of Nitrogen. You can also fertigate 3 times a month at 100 ppm, it is a personal preference, just make sure at least once a month there is some decent rain or that you irrigate with plain water once so salts don’t overly build up and burn the roots.
Depending on the rate of growth for the rest of the year, within a month to a month and half, we will re position the liners and space them out a bit more. By doing so, we try to keep the lanky growth to a minimum as fall begins to set in. We will cut back on watering them to harden them off to prepare for the winter. Ideally, we would want to put them in a cold frame to overwinter or a greenhouse structure with heat, but those operations do add cost to the production of the liner.
As we maintain them through the winter, we will either do one of two things in the following spring. We will either grow them off in containers and plant in the fall or we will plant them in the Spring. Either option is viable. If we do plant them this coming Spring, after three weeks from planting out in the field, we will cut them back to 9 to 12 inches from the ground. The wood taken will be used to make more cuttings. If we can get 2 to 4 cuttings per plant with 50% rooting, then the process of building up numbers has begun. If we chose to plant them in the fall, more than likely we will pot them up in the Spring in 3 gal contains, wait 3 weeks and cut them back 9 to 12 inches. Not only will this give us cutting wood, but when plant out in the fall, we will be planting a larger root mass and plant. We would prune back in the following Spring to collect cutting wood, but we would leave 6 to 12 inches of new growth from the previous pruning. One option gives you a 1 year turnaround time from cutting to planting, while the other gives you 1.5 years yet there should be an increased number of cutting wood to propagate with.
If we do pot them up in the Spring, it would be roughly the same mix or the other modified version I talked about. At a particular time we would also do a topdressing of fertilizer to facilitate the coming year’s new growth. There would also need to a few pinching of new growth to help start building up a harvesting table and encourage multiple shoot formation. It would still take at least 2 to 3 years before decent yields would be produced from the new field plantings if you were focusing on tea. If you were growing ornamental camellias, it all depends on the standard you have for a product.
I hope that you have taken something away from this. As you can see from the picture below, I have some work to do (because there is more than what is pictured here). Until next time, be safe, be kind, but most importantly,”Grow Forward.”
Take Care,
Joshua